
When it comes to heat transfer vinyl, you have a lot of options. Whether you go with a standard, glittery, flocked, glow-in-the-dark, or puff variety, the type of heat transfer vinyl you choose allows your style to shine through. While the basic application steps are the same for all, certain details differ between heat transfer vinyl types. In this article, we’ll teach you how to use puff heat transfer vinyl.
What Is Puff Heat Transfer Vinyl?
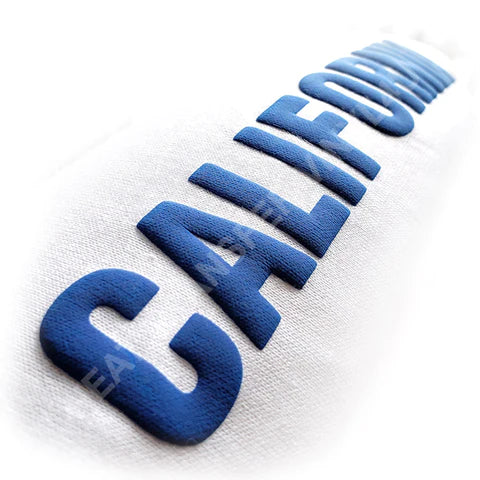
Puff heat transfer vinyl is a material that expands—or puffs up—when you expose it to the heat of your iron or heat press. Once applied, it gives your design a unique, 3D appearance. Puff heat transfer vinyl may be smooth, grippy, or made of a flocked material.
How To Use It
While puff heat transfer vinyl is not too difficult to use, it’s important to know the specific steps for applying it. Here are some tips for applying a 3D puff heat transfer vinyl
If your puff heat transfer vinyl didn’t come pre-cut, cut out your design with the vinyl side down on a cutting mat.
- Preheat the shirt before pressing.
- Please do not use Teflon sheet or any cover on the vinyl before pressing.
- Place the vinyl design onto your garment at the desired location. Using HIGH PRESSURE (Very Important), heat and press the puff heat transfer vinyl design for ten seconds.
- Temperature: 285°F -300°F (148°C-154°C) Please use a scrap piece of puff vinyl to test the temperature first due to the heat sensitivity of material.
Also keep in mind some heat presses run hotter than readings, so you can always use a heat gun to make sure yours is running at the accurate temperature.
- Remove the protective carrier at Hot Peel
- Release the heat press quickly.
- Peel the backing off the design while it’s still hot. This step should be simple, as the design will puff up, pushing off the liner on its own.
- Enjoy your newly applied puff heat transfer vinyl!
How To Use Printed Puff
If your puff heat transfer vinyl didn’t come pre-cut, cut out your design with the print side up on a cutting mat, do not mirror your image.
- Set your iron or heat press to 300 Degrees Fahrenheit.
- Preheat the shirt before pressing.
- Using a HTV transfer sheet, place the sheet on top of entire design to remove the backing off of the decal. You will want to use a credit card or scraper to allow the design to pick up onto the transfer sheet. Your main goal of this is to remove the backing away from the decal.
- Please do not use Teflon sheet or any cover on the vinyl before pressing.
- Place the vinyl design onto your garment at the desired location. Using HIGH PRESSURE (very important), heat and press the puff heat transfer design for twenty seconds.
- Release the heat press quickly.
- Peel the transfer sheet off of the design while it is still hot.
- Enjoy your newly applied puff heat transfer vinyl!